It has been a long time since my last post, and for good reason, too. The past couple of months have been pretty busy, but I have spent a good part of this time involved in some hands-on projects rather than writing projects. With that said, the purpose of today’s post is to showcase a small fraction of my creative accomplishments as of late.
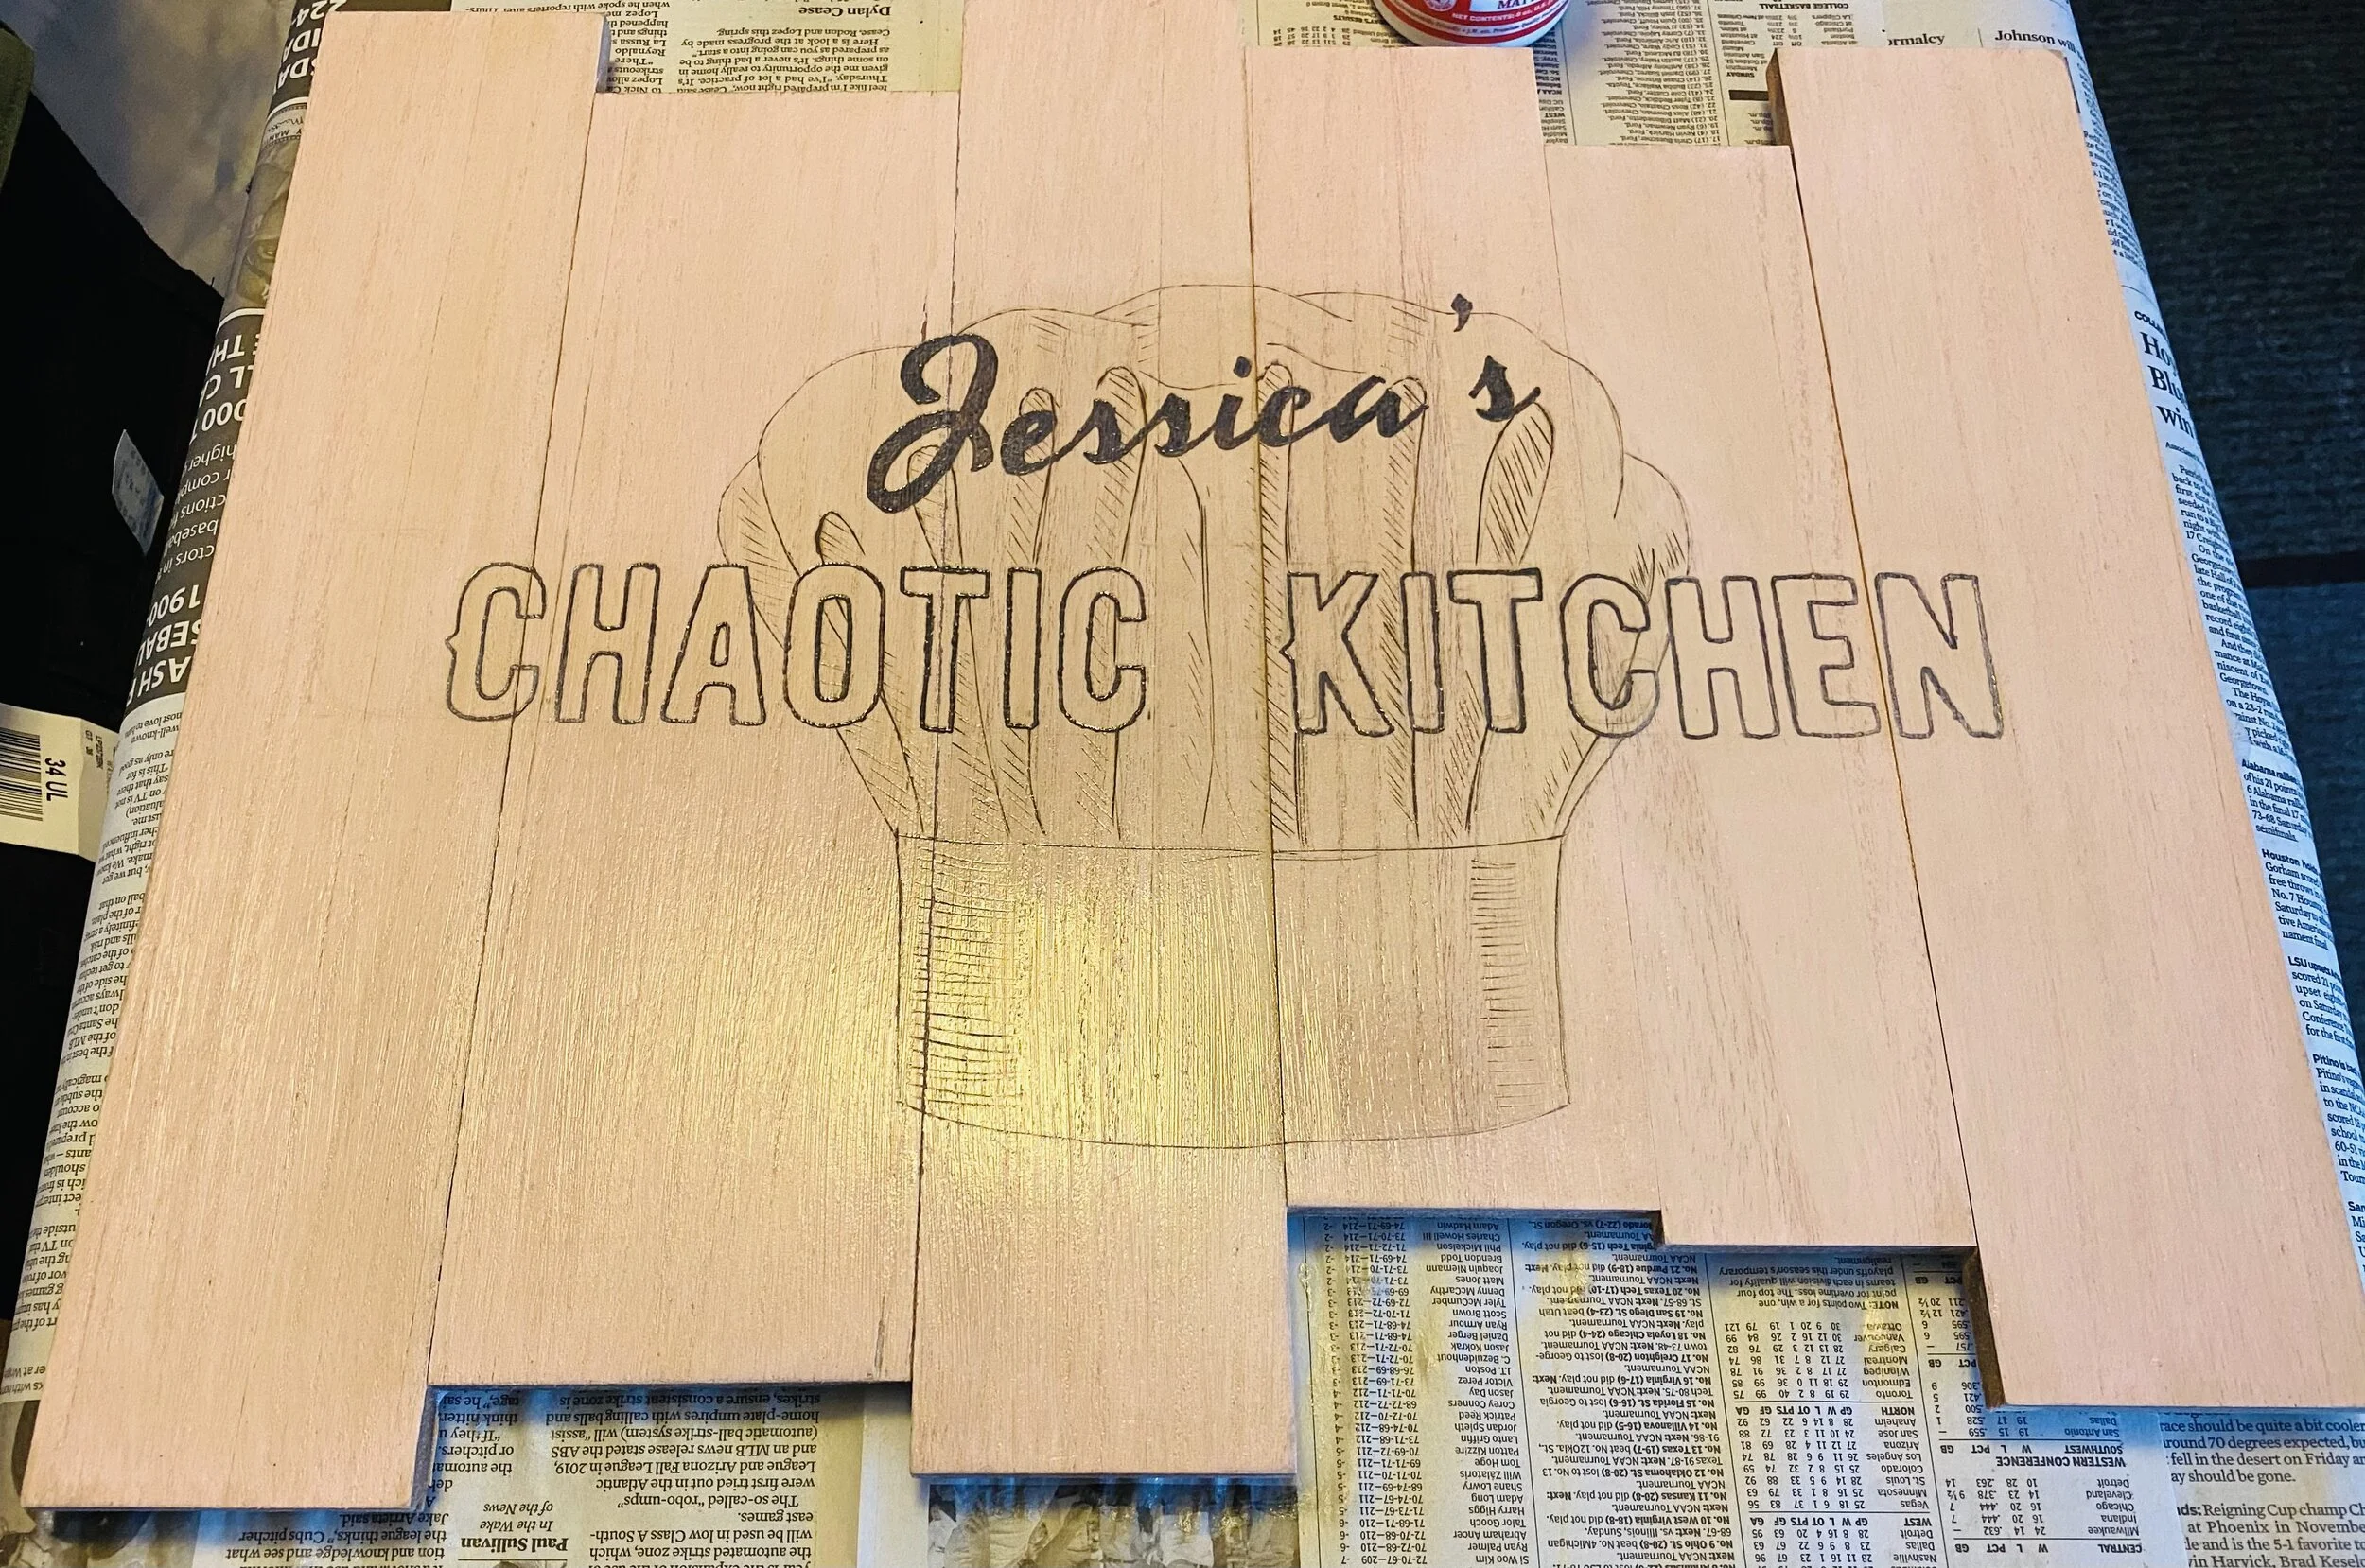
A few months ago I started working on this project for my friend Jess who started her very own food account called @jessicaschaotickitchen on Instagram last year. Jess is always cooking up something tasty in her kitchen, whether it’s a family favorite or the next trendy cookbook recipe from her favorite chefs.
When I saw the unique logo she created for her account I was really impressed. The font combined with the sketch-style chef hat watermark in the background really gave off a homestyle kitchen vibe and I wanted to capture that in real life, too.
Below are the details for how I went about this project.
Sketch of the design.
SKETCH:
First, I sketch out the image I want to burn, whether it’s words or pictures. Pictures are honestly way easier, as I can relax about measurements since pictures typically aren’t perfectly symmetrical. Letters on the other hand look really bad if the spacing, size, length, etc are not properly measured out. Usually I can measure and free hand the letters. However, due to the different fonts and angles in this project I decided to print out the image, cut out the letters, and then trace them onto the wood. So overall, it took longer than usual but was far more precise.
Burned lettering.
Burned image.
BURN:
Next, once the image is traced properly onto the wood I double check the pencil work and when I’m satisfied I move onto the main event of burning. This is the first project I was able to use my new tool attachments for my wood burning tool. Holy smokes, did that make a difference. The burn was smoother and did not catch on the ridges of the wood as much as my old attachments.
STAIN:
After that, I wiped down the wood with some tack cloth to make sure there weren’t any gremlins hanging around for the next step. For this project, I decided to use a light rose stain to give the background a little tinge of pink that can be found in the @jessicaschaoskitchen logo.
Stained and sealed.
SEAL:
Once the stain was dry, I sealed the wood with a varnish. I typically will seal the projects I work on with a light veneer to help protect it. Some of the wood pieces I have worked with are quite raw or have bark edges so the extra layer helps to keep it smooth.
TIMELINE:
From start to finish this project took me about two months. I had the idea over the winter but didn’t actually get started on the project until March. The sketching and burning I did all within a day. But purchasing the right stain and the tools for that and then actually doing that part took a little longer. Plus waiting for it to dry and then applying the veneer took a little extra as well. I gave it to Jess in May and then put together this post about it so I guess you could say the entire project including the post includes May. In terms of hours spent on it, I didn’t really keep track but I’d estimate this was roughly eight hours of work. Maybe ten if you count the time I spent writing and gathering the images together for this post.
But that’s about it for this project! If I remember anything else I’ll be sure to include in the future.
WHY WOODBURN?
I started working with wood a few years ago and only recently started to record the process. I don’t exactly remember why I wanted to work with wood, and specifically burning, but I found the tool at a craft store for a reasonable price (maybe $15-20 at most) so I decided to try it out. Any piece of wood will generally work, but many craft stores have wooden signs or pieces with bark if you want a rustic look but don’t want to worry about what the wood was treated with.
Not only did I take pictures this time, but I also took videos. Those can be viewed on my Instagram account @inkwell_on_mars for now. I always enjoyed the before and after pictures but this time the sped-up video was extremely satisfying to watch. I’ll likely be recording more of my projects in the same way simply because it’s a pleasing way to look back on a project.
Here are a few projects I’ve completed in the past.
The first woodcraft project I ever completed. An ornament for my friend for Christmas. Circa December 2017.
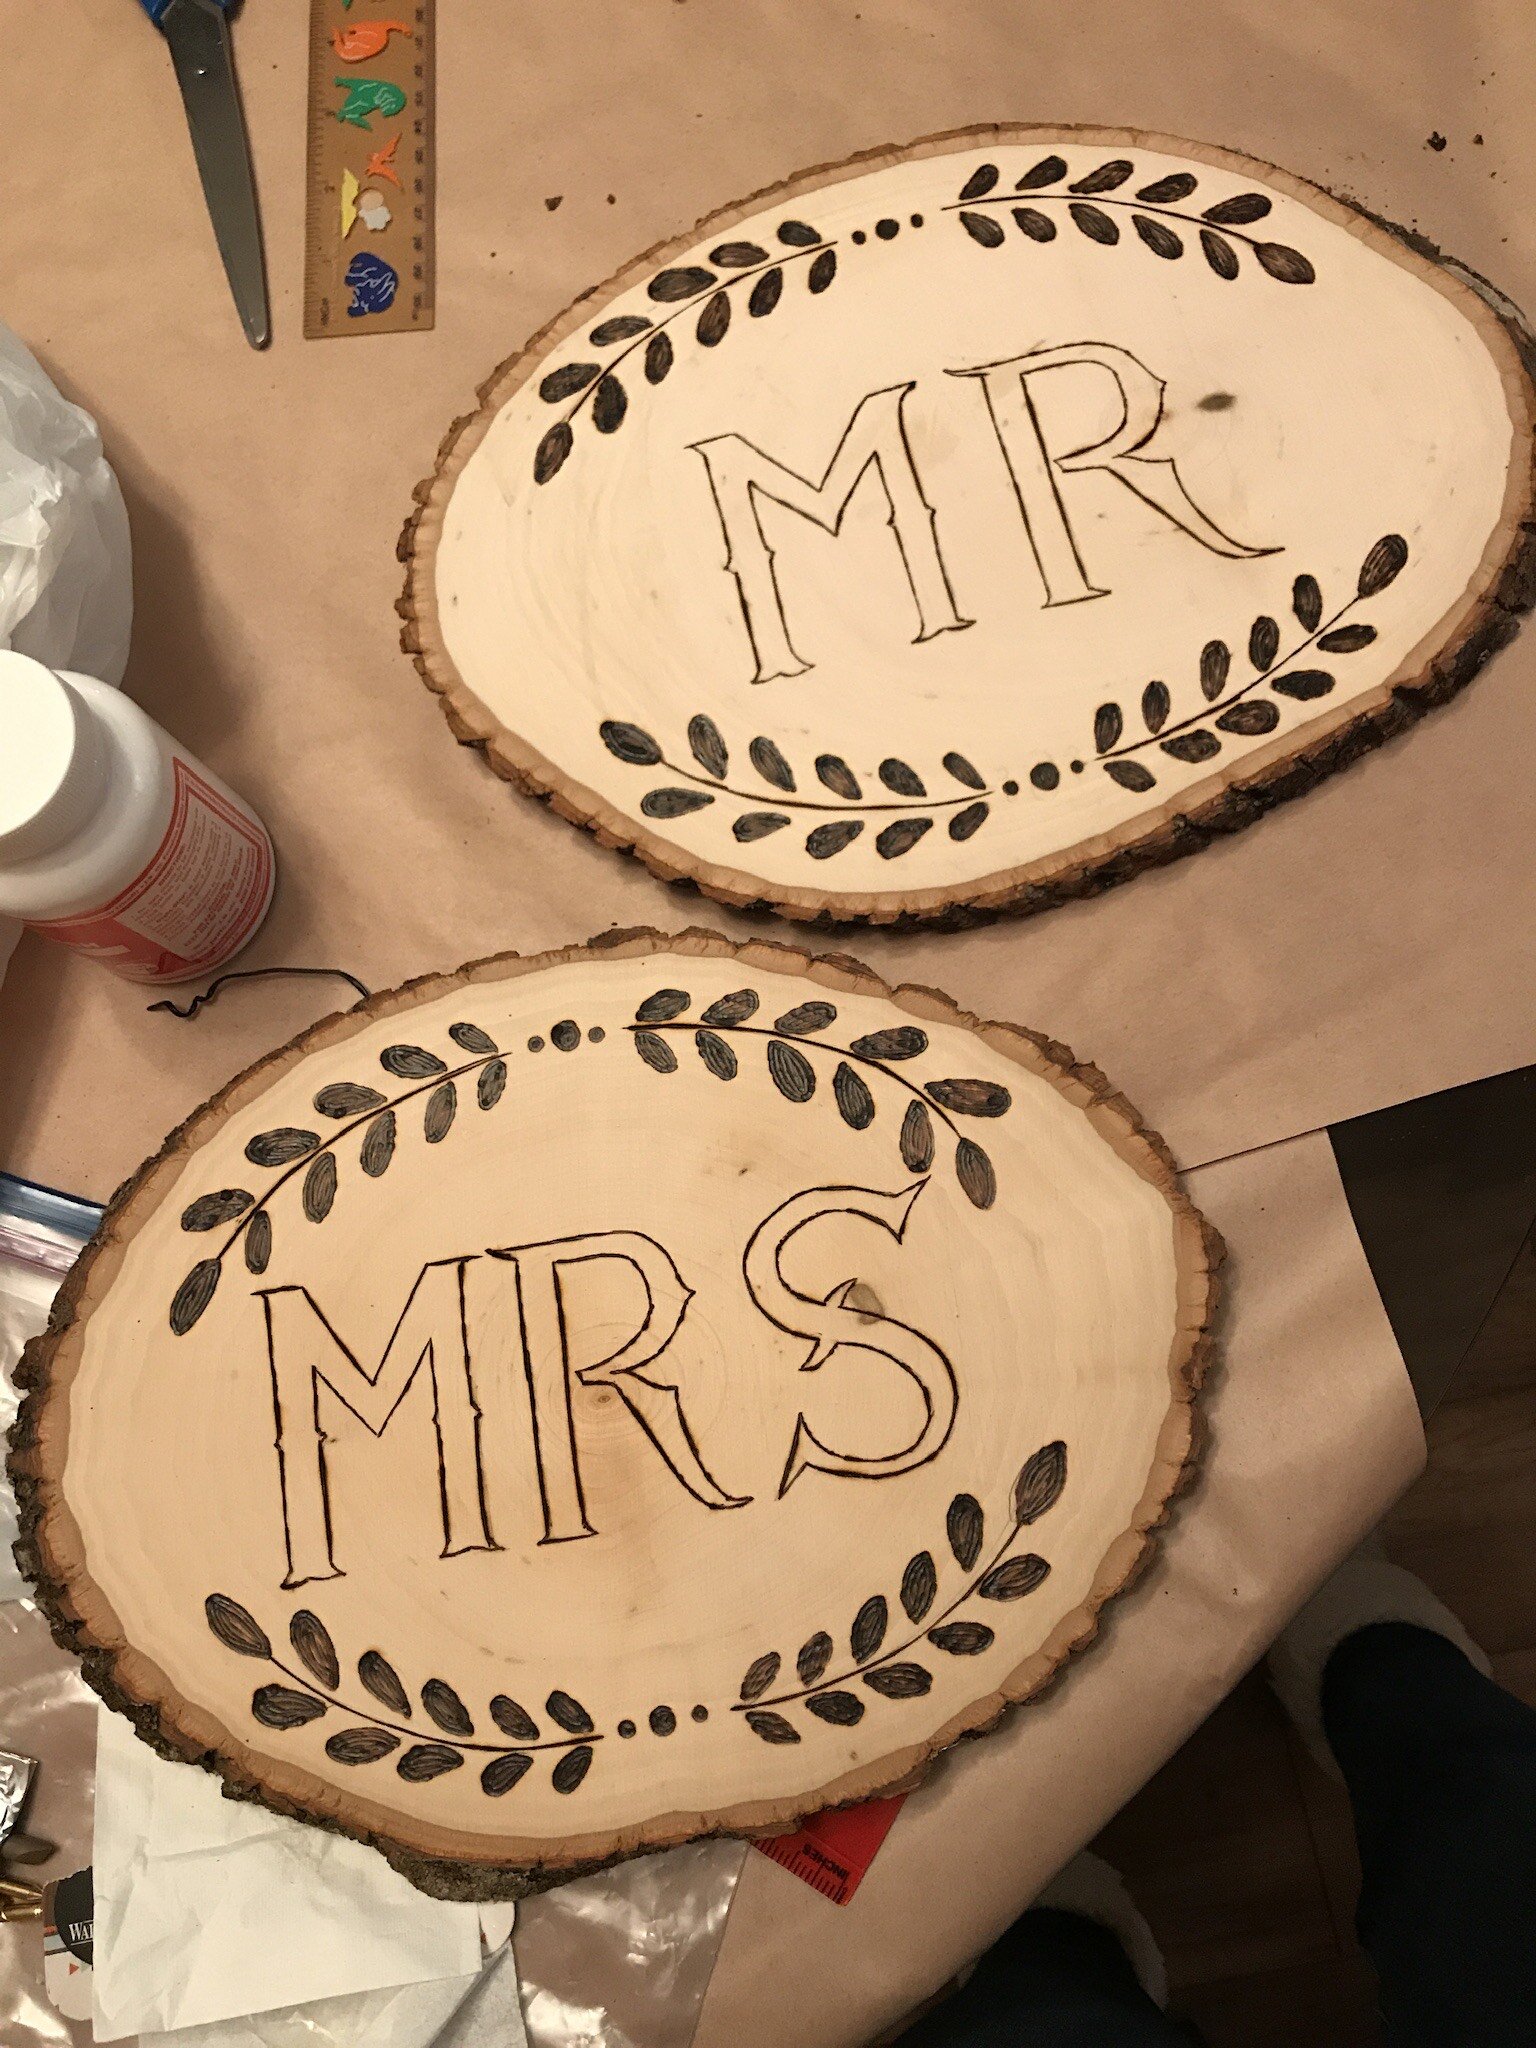
MR & MRS signs for my best friend’s wedding shower. The shower was a surprise! The theme was Narnia so I was going for a woodland-inspired image with this project. My friend’s father actually coated these in epoxy resin and fastened metal hooks on the back so they could be hung. My friend just moved into a new house earlier this year and these are hanging above her and her husband’s bed right now. Circa February 2019.
Another fixture to the Narnia-themed shower was a direction sign post with the different locations to be found within Narnia. These individual planks of wood were cut and shaped by the bride’s family and family friends, then I burned the names of each location in its own unique style font. The planks were then fastened to a wooden post and stand. The happy couple also kept this sign post as an outdoor decoration. Circa March 2019.
One of my friends loves watching Korean dramas, and her all-time favorite drama is called Goblin (or Guardian: The Lonely and Great God - 10/10 highly recommend) so I made her this woodcraft to go with her other Goblin collectibles. It took quite a bit of research of the Korean alphabet (Hangul) especially considering the font for this logo is very casual compared to a more traditional style (read: easy to read for foreigners) of Hangul. Overall she said it looks accurate, and considering I did the sketch template freehanded instead of tracing it I was very relieved. The flowers along the borders are freehand of the buckwheat flowers that are important to the plot of the story. I also added one of my favorite quotes from the show. Circa September 2020.
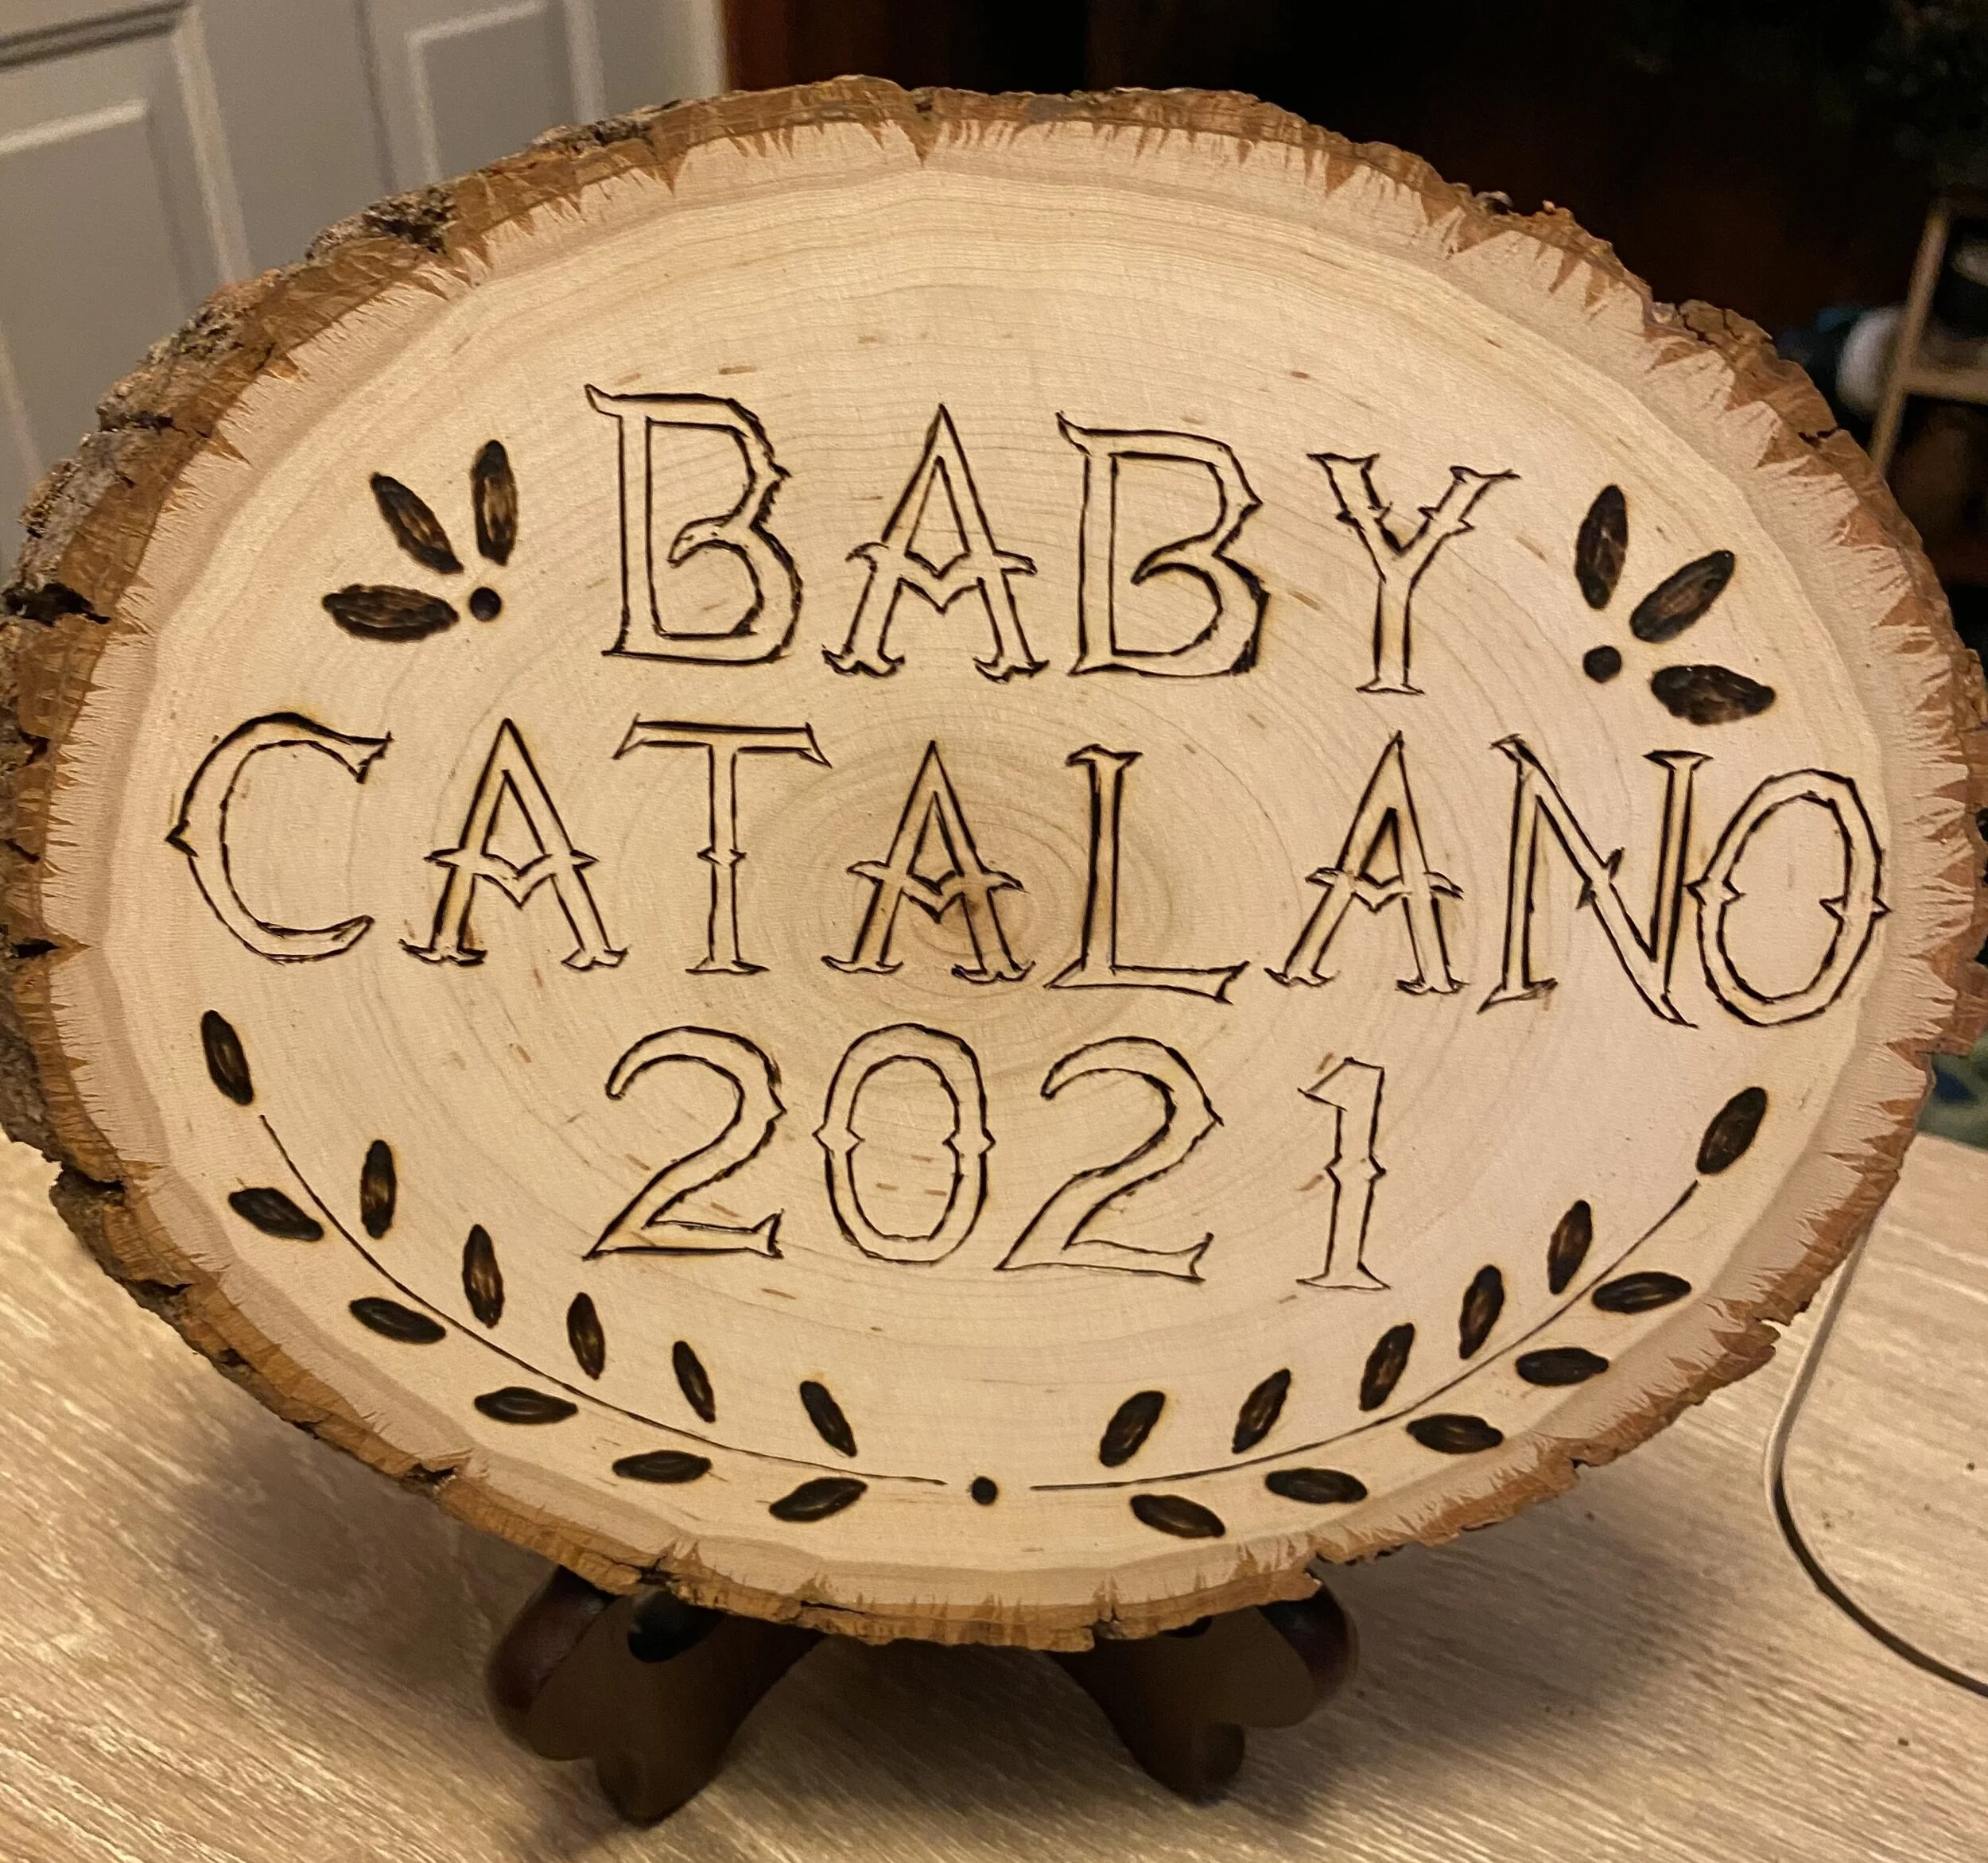
When my friend told me she was expecting a baby, I knew that I wanted to make something cute to celebrate the occasion. She told me the news around Thanksgiving so I thought this would be the perfect gift for her. I’m happy to report the baby has arrived and my friend asked me to create another one with her name, birthdate, and weight for her little girl. We picked up the piece of wood she wanted in advance (baby was due in June) and barely two weeks later she decided to come early! So unfortunately, I have yet to complete the latest project but will do so very soon! Circa December 2020.
BUSINESS IDEAS?
Typically the projects I work on are gifts for my friends or family, so at this time I do not have any intention of taking on commissions for projects. If the timing is right, I can revise that statement but for now I like to make things for my friends and loved ones.
I have a few projects in the near future I’ll be working on but they will have to take a back seat until I can finish some other projects first. As the weather gets nicer outside I tend to spend most of my time out of doors so these creative exploits are left unfinished for long periods of time. But as a creative person I’ve just come to realize that inspiration and motivation will come and go and that the best way to finish a project is to A) get it finished in one sitting if possible or B) leave the materials out and ready for the next creative session. So many times I’ve been deterred from doing a project because all my materials are packed away or inaccessible (I’ve moved three times in the last five years) which makes it difficult to start a project. The good thing is that this past year I’ve spent a lot of time organizing my materials so it’s easier to locate and access them. The drawback is that as I’m organizing I’m inspired but can’t take the time to work on something else because PRIORITIES.
OVERALL:
It may seem like slow work but I always love the finished product. It can be discouraging to see the projects move along slowly or the way they look when they are only partially finished can be a little . . . cue the off-key recorder rendition of My Heart Will Go On.
But honestly, when the project comes together as a completed work it is almost breathtaking. I’m still amazed sometimes when something I made with my own hands looks adequate, or dare I say, good? It’s times like these that I’m thankful that I have skillful hands that can create art. So very thankful.


